Windows 11 Complete Setup Guide: From Installation to Perfect Configuration

Callum specializes in breaking down complex technology topics into easy-to-understand guides. He has a background in computer science and technical writing.
I've installed Windows 11 on dozens of machines — from aging laptops to high-end workstations. This is the exact process I follow every time to get a clean, optimized, secure installation. No unnecessary steps, no bloated configurations. Just what actually matters.
Before You Start: What You Need
✅ Requirements
- • 8GB+ USB drive (will be erased)
- • Windows 11 product key
- • Another PC to create bootable USB
- • 1-2 hours of your time
📦 Backup First
- • Important documents and photos
- • List of installed software
- • WiFi passwords
- • Software license keys
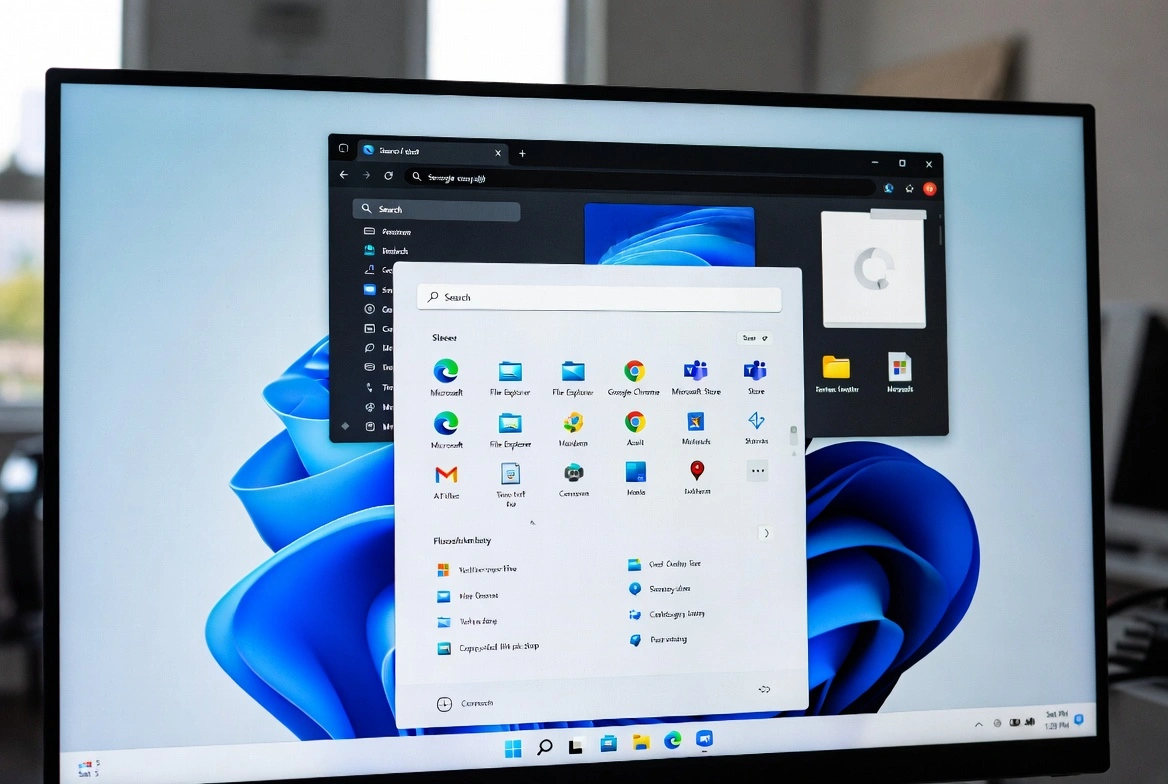
Step 1: Create Installation Media
- Download the Media Creation Tool
Go to
microsoft.com/software-download/windows11and download the official tool. - Run the tool as Administrator
Right-click → "Run as administrator" to avoid permission errors.
- Select "Create installation media"
Choose language, edition (Windows 11), and architecture (64-bit).
- Pick your USB drive and wait
The process takes 15-30 minutes depending on your connection.
⚠️ Important
Everything on the USB drive will be erased. Make sure to back up any important files before proceeding.
Step 2: Clean Installation
- Boot from USB
Restart your PC and press F12, F2, or DEL (varies by manufacturer) to access the boot menu. Select your USB drive.
- Follow the installation wizard
Select language, time, and keyboard. Click "Install now."
- Enter your product key
Or click "I don't have a product key" to activate later.
- Choose "Custom: Install Windows only"
This does a clean install instead of an upgrade.
- Select the installation partition
For a completely clean install: delete all partitions and let Windows create new ones.
🚨 Warning
Deleting partitions erases EVERYTHING on that drive. Make sure you've backed up your files and are selecting the correct drive.

Step 3: Initial Setup (OOBE)
After installation, Windows walks you through initial setup. Here's what I recommend at each screen:
Region and language
Select your actual location — this affects date format, currency, and available stores.
Network connection
Connect to WiFi now to download updates during setup.
Microsoft account
I recommend using a Microsoft account for sync and password recovery. If you prefer local account, there are workarounds to skip this.
PIN and security
Set up a 6+ digit PIN. It's faster than a password and equally secure.
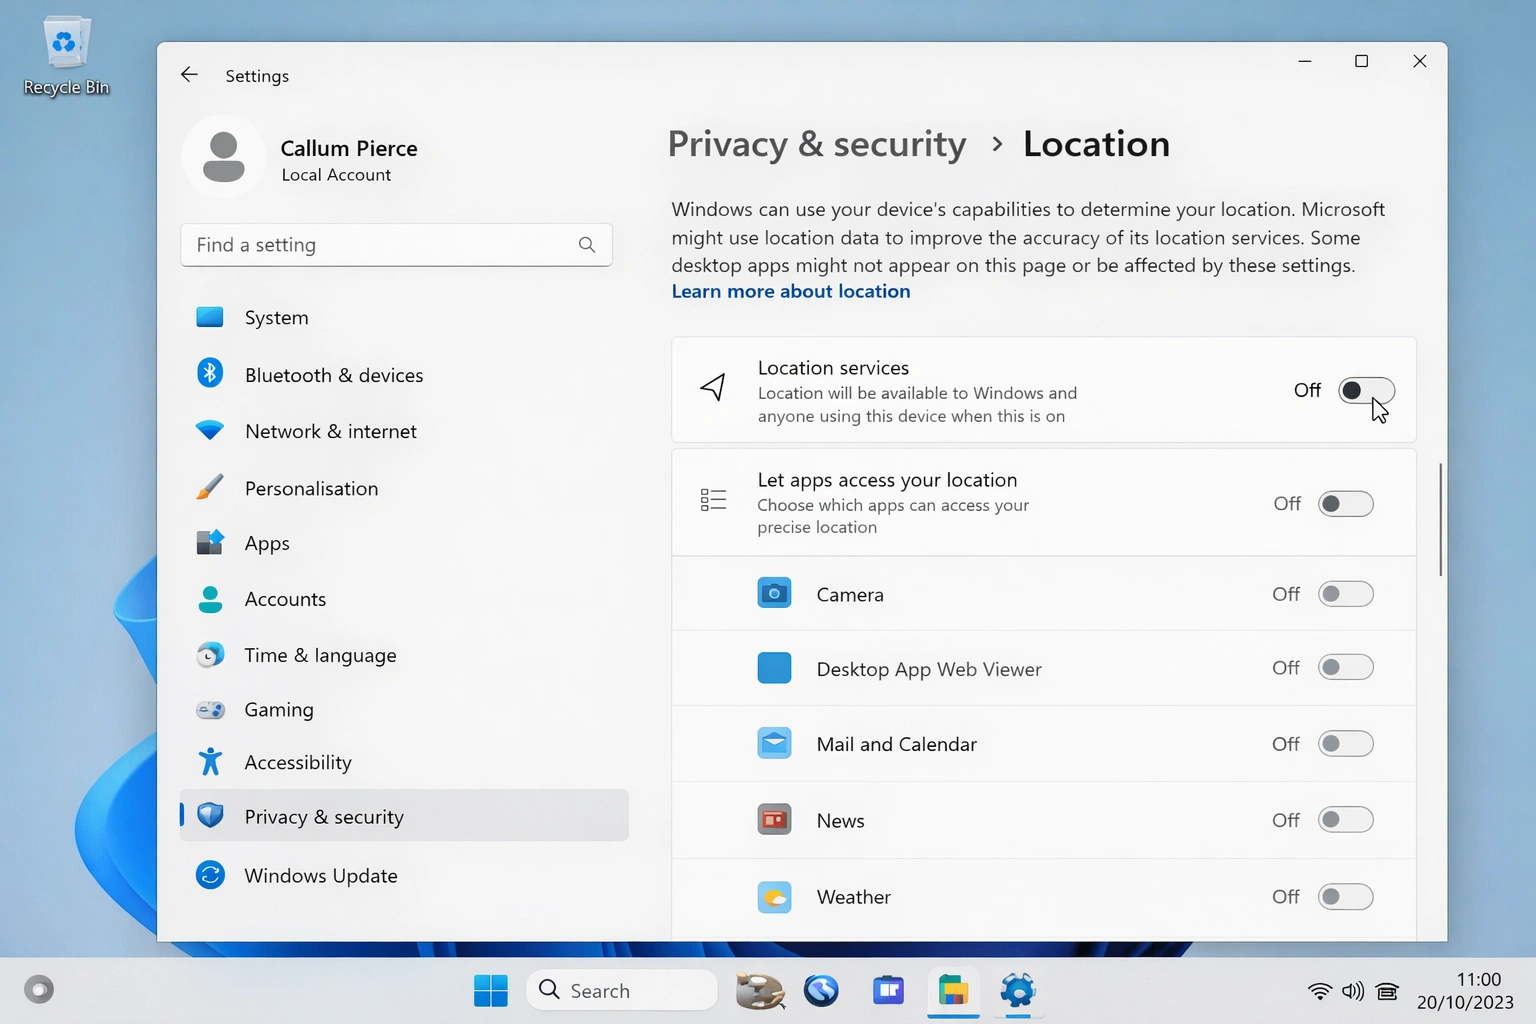
Step 4: Privacy Configuration
Windows 11 ships with many telemetry options enabled by default. Here are the ones I always turn off:
Settings → Privacy & Security
- ❌ Diagnostic data: Switch to "Required"
- ❌ Tailored experiences: Turn off
- ❌ Advertising ID: Turn off
- ❌ Content suggestions: Turn off
- ✅ Location: Keep on for weather/maps (optional)
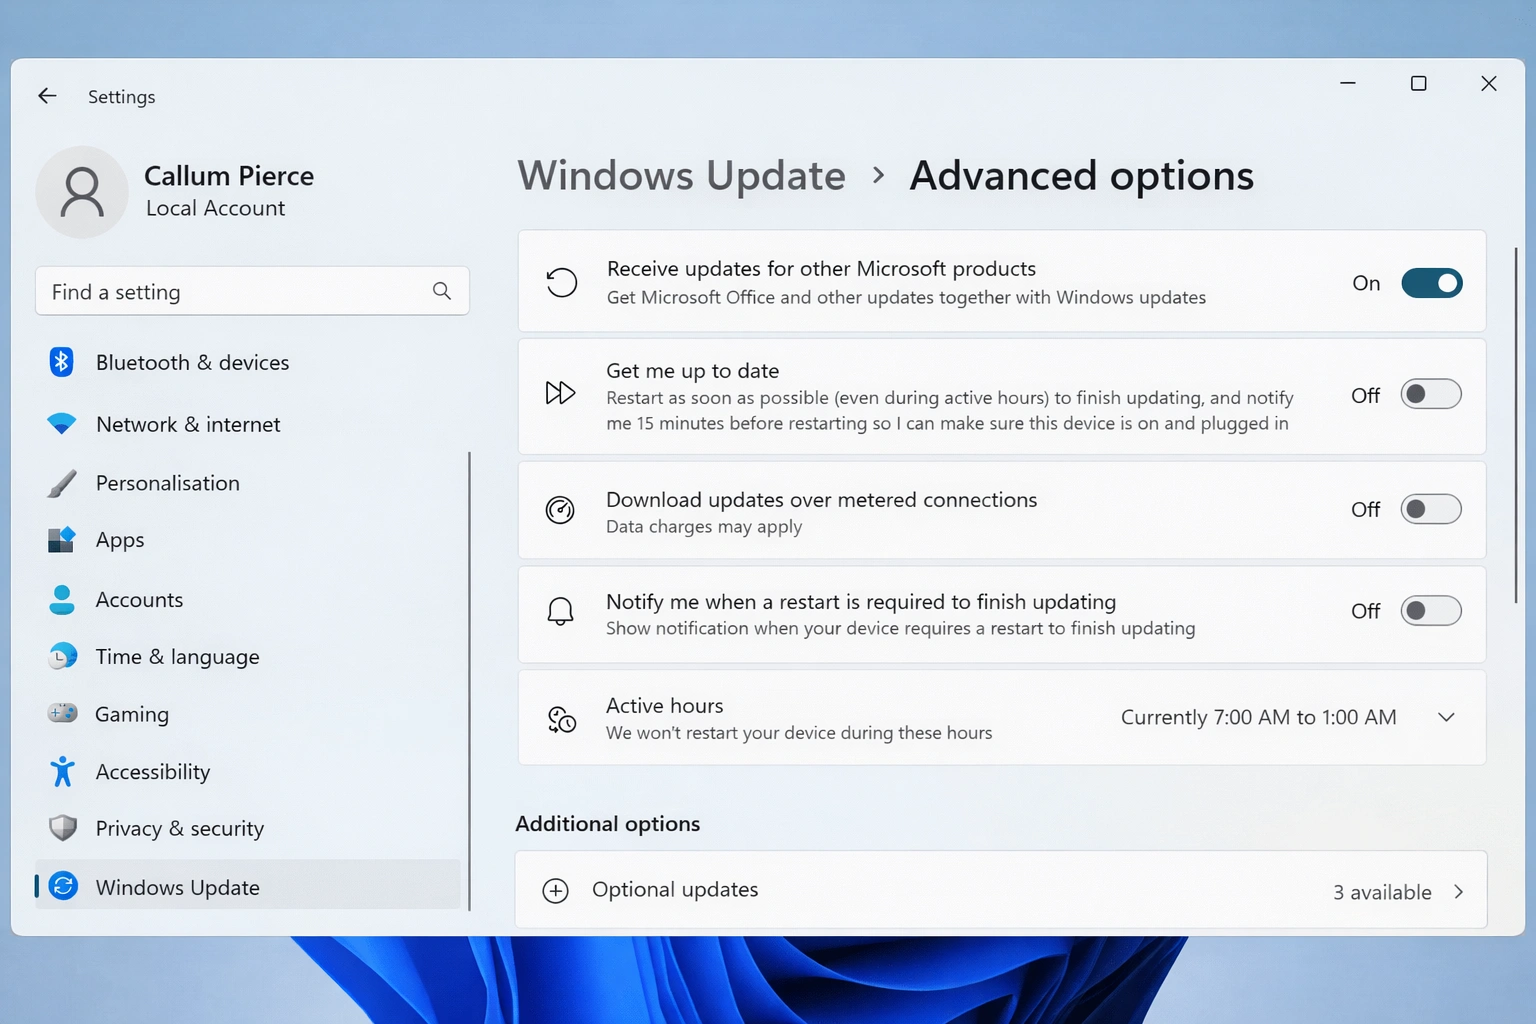
Step 5: Driver Installation
- Run Windows Update first
Settings → Windows Update → Check for updates. Windows will install basic drivers automatically.
- Check Device Manager
Right-click Start → Device Manager. Look for devices with yellow warning icons.
- Download manufacturer drivers
For laptops: go to manufacturer's site (Dell, HP, Lenovo). For desktops: get motherboard and GPU drivers.
💡 Pro Tip
For NVIDIA/AMD graphics cards, always download drivers directly from the manufacturer's website. Windows Update drivers are often outdated.
Step 6: Performance Tweaks
🚀 Disable startup programs
Ctrl + Shift + Esc → Startup tab → Disable anything you don't need at boot.
⚡ Power plan
Control Panel → Power Options → "High performance" for desktops.
🎮 Game Mode (for gamers)
Settings → Gaming → Game Mode → Turn on. Improves gaming performance.
💾 Storage Sense
Settings → System → Storage → Turn on Storage Sense for automatic cleanup.
Step 7: Essential Software
🛡️ Security
- • Windows Defender (built-in)
- • Browser with ad blocker
- • Password manager
📄 Productivity
- • Microsoft Office 2024
- • PDF reader (Adobe or alternative)
- • File archiver (7-Zip)
Step 8: Back Up Your Setup
Once everything is perfect, create a restore point:
- Search for "Create a restore point" in the Start menu
- Select your system drive (C:) and click "Configure"
- Enable system protection
- Click "Create" and name the restore point (e.g., "Clean install complete")
Final Summary
A properly configured clean Windows 11 install should boot in under 20 seconds on an SSD and run smoothly for years. The key steps are: clean install (not upgrade), adjust privacy settings, install manufacturer drivers, and disable unnecessary startup programs. Do this right once and your PC will thank you.