Cómo Actualizar de Windows 10 a 11 Sin Perder Tus Datos (Guía Paso a Paso 2025)

Callum specializes in breaking down complex technology topics into easy-to-understand guides. He has a background in computer science and technical writing.
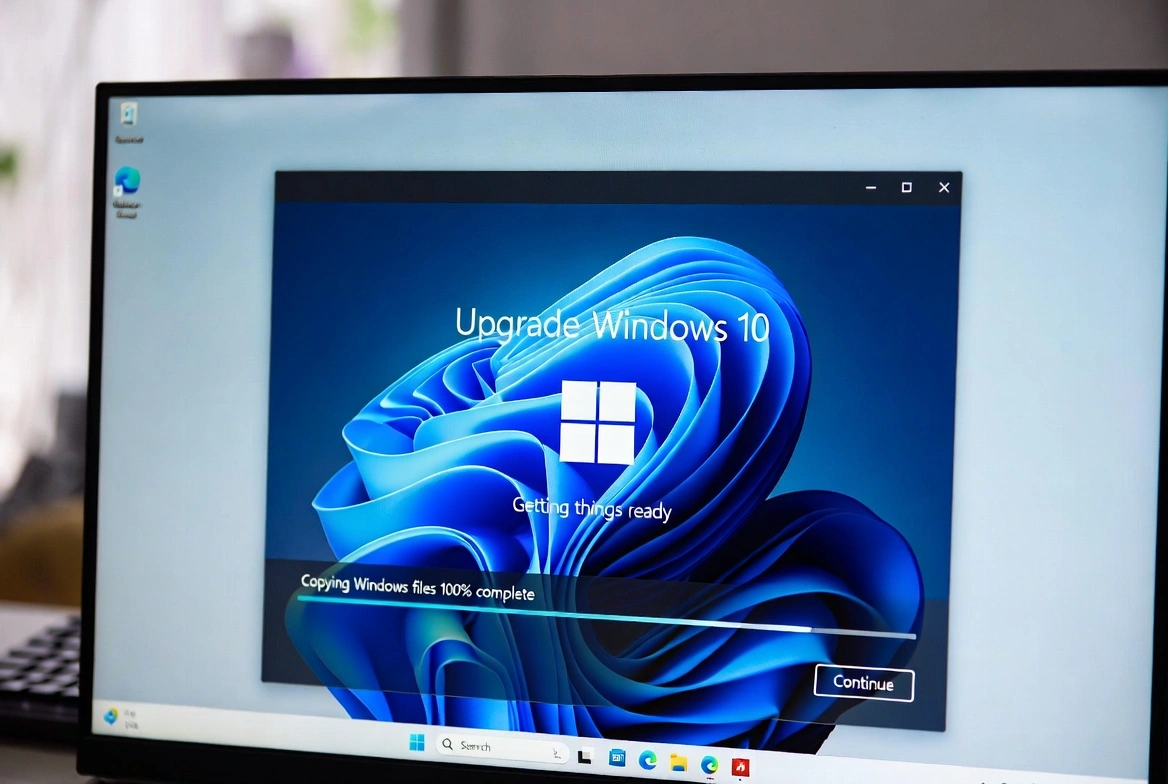
Ready to upgrade from Windows 10 to Windows 11 but worried about losing your precious files, photos, and apps? You're not alone. This comprehensive guide shows you exactly how to upgrade to Windows 11 without losing data—step by step, with backup tips and troubleshooting help.
📋 What This Guide Covers
Before You Start: Windows 11 System Requirements
Before upgrading, ensure your PC meets the minimum Windows 11 requirements:
| Component | Minimum Requirement |
|---|---|
| Processor | 1 GHz, 2+ cores, 64-bit compatible |
| RAM | 4 GB minimum (8 GB recommended) |
| Storage | 64 GB or more |
| TPM | TPM version 2.0 |
| Secure Boot | UEFI, Secure Boot capable |
| Display | 720p, 9" diagonal or larger |

Important: Windows 10 End of Support
Microsoft will end Windows 10 support on October 14, 2025. After this date, you won't receive security updates. Upgrading to Windows 11 is highly recommended.
Step 1: Backup Your Data First (Critical!)
Even though the upgrade process is designed to keep your files, always back up your important data first. Here's how:
Quick Backup Checklist:
- Documents folder: Copy to external drive or cloud storage
- Desktop files: Often forgotten—check for important files
- Pictures & Videos: Copy entire folders to backup location
- Browser bookmarks: Export from Chrome, Firefox, Edge
- Game saves: Check AppData folders or use Steam Cloud
- Software license keys: Note down product keys for reinstallation
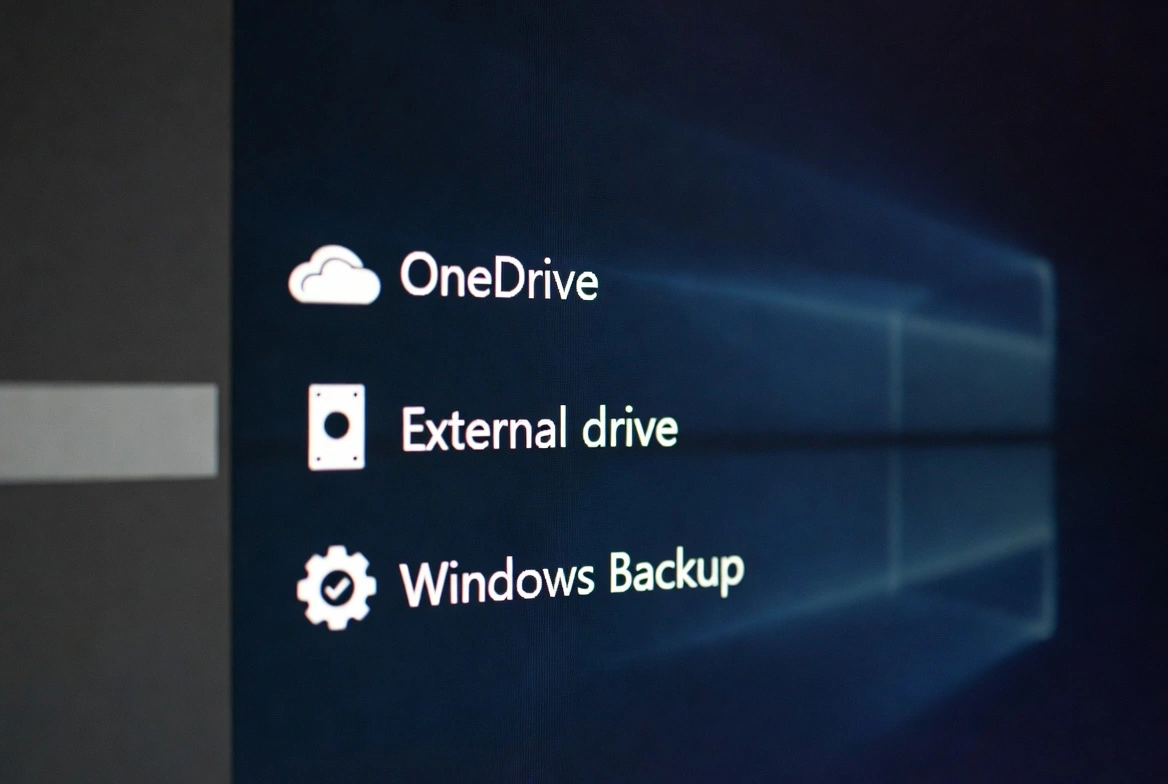
Backup Options:
☁️ OneDrive
Sync Documents, Desktop, and Pictures to Microsoft cloud (free 5GB)
💾 External Drive
Copy files to USB drive or external HDD for offline backup
🔧 Windows Backup
Use built-in Windows Backup and Restore (search in Start)
Step 2: Check PC Compatibility
Use Microsoft's official PC Health Check tool to verify your system is compatible:
- 1. Download PC Health Check from Microsoft's website
- 2. Run the application and click "Check now"
- 3. Review the results—it will tell you if you're ready for Windows 11
Pro Tip: TPM 2.0 Issues
If PC Health Check says "TPM 2.0 not found," it might just be disabled in your BIOS. Check your motherboard settings to enable it.
Step 3: Choose Your Upgrade Method
There are three main ways to upgrade to Windows 11 without losing data:
Method A: Windows Update (Recommended)
Best for compatible PCs • Automatic • Keeps everything
Method B: Installation Assistant
When Windows Update isn't offering the upgrade yet
Method C: In-Place Upgrade via ISO
More control • Can bypass some requirements
Method A: Upgrade via Windows Update (Easiest)
This is the safest and easiest method to upgrade to Windows 11 while keeping all your files and apps:
Step-by-Step Instructions:
- 1Press Windows + I to open Settings
- 2Navigate to Update & Security → Windows Update
- 3Click Check for updates
- 4If Windows 11 is available, you'll see "Upgrade to Windows 11 is ready"
- 5Click Download and install
- 6Accept the license terms and wait for the download
- 7Your PC will restart several times—don't turn it off!
The entire process takes 30-60 minutes depending on your internet speed and hardware.
Method B: Windows 11 Installation Assistant
If Windows Update doesn't show the upgrade option, use the Windows 11 Installation Assistant:
- 1Go to microsoft.com/software-download/windows11
- 2Download the Windows 11 Installation Assistant
- 3Run the tool as Administrator
- 4Accept the license agreement
- 5The assistant will download Windows 11 and begin the upgrade
Method C: In-Place Upgrade via ISO (Keep Personal Files)
This method gives you more control and can bypass some compatibility issues:
- 1Download the Windows 11 ISO from Microsoft's website
- 2Right-click the ISO file and select Mount
- 3Open the mounted drive and run setup.exe
- 4When prompted, choose "Keep personal files and apps"
- 5Complete the installation wizard
Your Files Are Safe
When you choose "Keep personal files and apps," Windows preserves your Documents, Pictures, Desktop files, and installed programs.
After the Upgrade: What to Check
Once Windows 11 is installed, run through this post-upgrade checklist:
- Verify your files: Check Documents, Desktop, Pictures folders
- Check installed programs: Make sure your apps still work
- Update drivers: Go to Settings → Windows Update → Advanced options → Optional updates
- Check activation: Settings → System → Activation (should show "Windows is activated")
- Run Windows Update: Install any pending updates for Windows 11
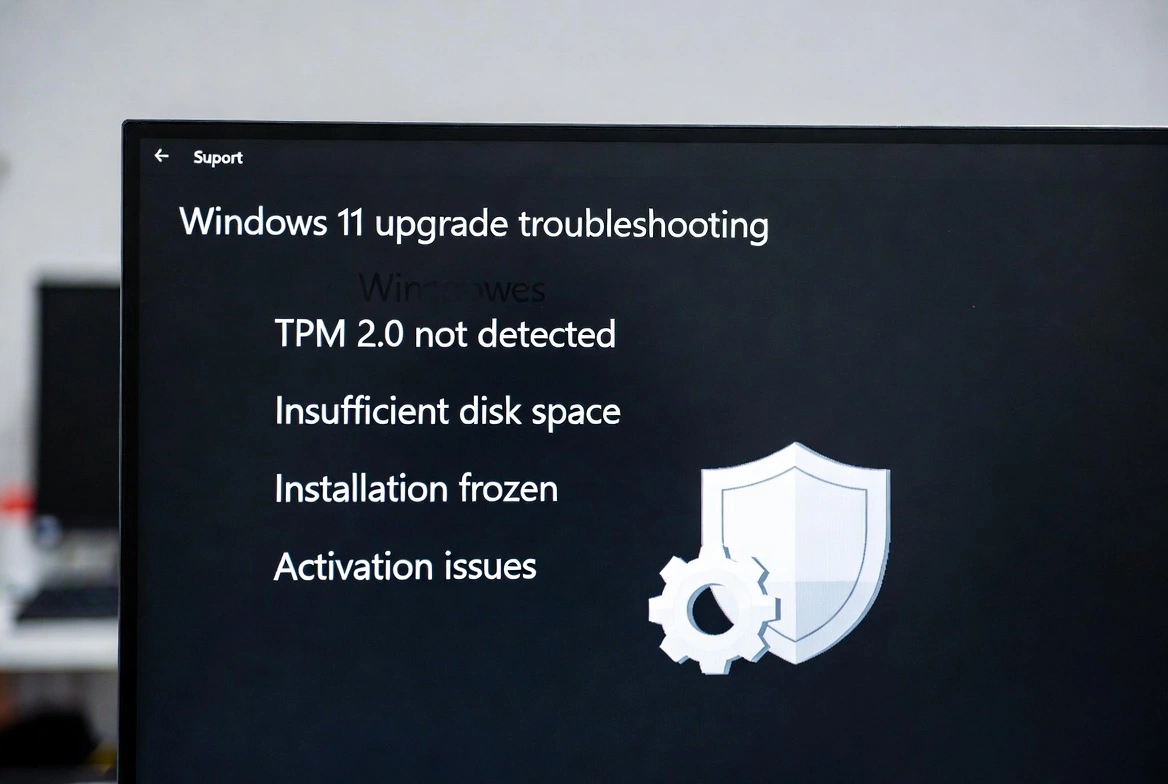
Troubleshooting Common Upgrade Issues
"This PC doesn't meet requirements"
Solution: Check if TPM 2.0 and Secure Boot are enabled in BIOS. Many PCs have these disabled by default. Restart, enter BIOS (usually F2, DEL, or F12), and enable them.
"Not enough disk space"
Solution: Windows 11 needs at least 64GB free. Run Disk Cleanup, delete temp files, or move files to external storage before upgrading.
"Upgrade stuck or frozen"
Solution: Be patient—upgrades can take 1-2 hours on older hardware. If stuck for more than 3 hours, force restart and try the Installation Assistant method.
"Windows not activated after upgrade"
Solution: If you upgraded from activated Windows 10, Windows 11 should activate automatically. If not, you may need a new Windows 11 product key—get one here for $33.99.
Frequently Asked Questions
Will I lose my files when upgrading to Windows 11?
No! When you use the official upgrade methods and select "Keep personal files and apps," all your documents, photos, and installed programs are preserved.
How long does the upgrade take?
Typically 30-60 minutes for the installation, plus download time. Total time varies based on your internet speed and PC hardware.
Can I go back to Windows 10 after upgrading?
Yes! Windows 11 keeps a backup for 10 days. Go to Settings → System → Recovery → Go back to return to Windows 10.
Is the upgrade to Windows 11 free?
Yes, upgrading from a genuine Windows 10 license to Windows 11 is free. Your license automatically transfers.
Should I upgrade to Windows 11 Home or Pro?
If you need BitLocker encryption, Remote Desktop, or Hyper-V virtualization, choose Windows 11 Pro. For basic home use, Home edition is sufficient.